


Put your yarn scraps to great use by knitting or crocheting a nest for orphaned baby birds.
The Carolina Waterfowl Rescue Group has put out a request for all us fiber artists to pull out our yarn scraps and put them to good use. A new bird’s nest for orphaned baby birds. Here are the knitting and crochet patterns:
Knitted Artificial Bird Nest
Directions:
On size 5 dpn’s cast on 54 stitches using 2 or 3 strands of yarn so the nests are tightly knit and will stand up in a bowl shape on their own! (divide sts up into 18 sts/needle). Work in knit (stockingette is automatic on dpn’s) stitch for approximately 3 inches. Begin decreasing for the crown as follows:
Next row: *K 7, k 2 tog* repeat to end
Next row: *K 6, k 2 tog* repeat to end
Next row: *K 5, k 2 tog* repeat to end
Nest row: *K 4, k 2 tog* repeat to end
Next row: *K 3, k 2 tog* repeat to end
Next row: *K 2, k 2 tog* repeat to end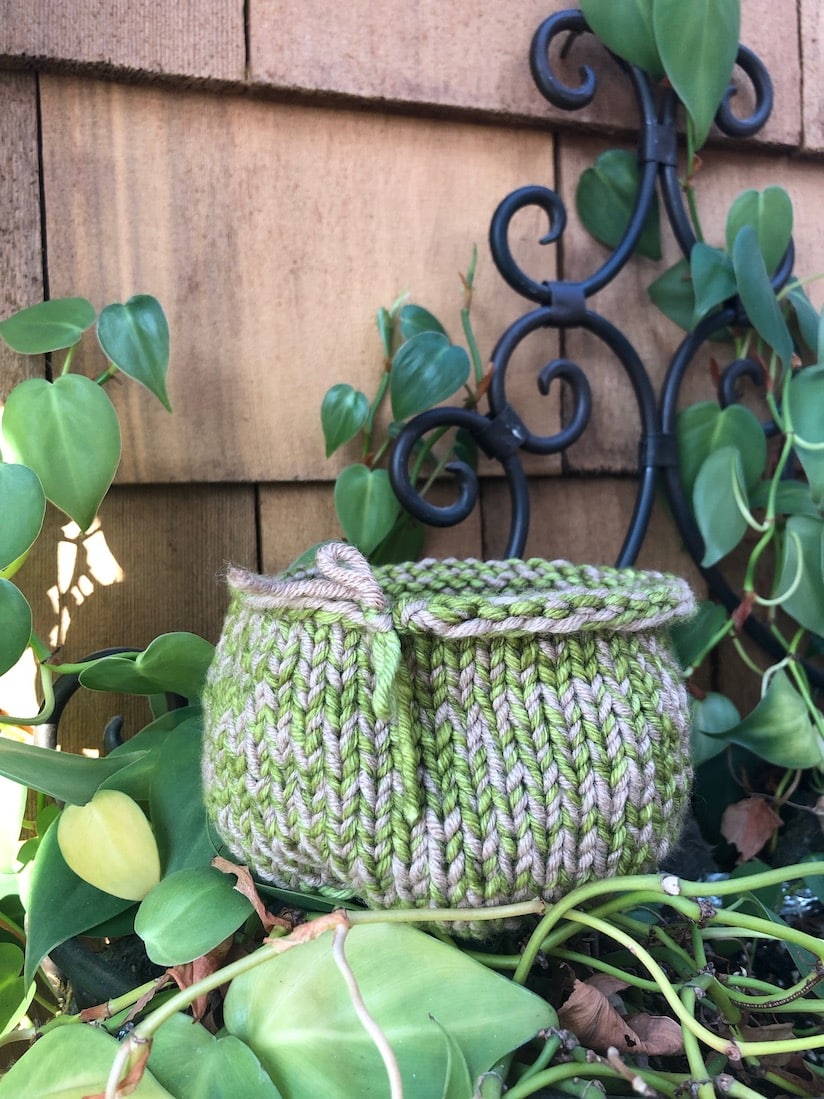
Next row: *K 1, k 2 tog* repeat to end
Clip off yarn leaving a tail of about 6 inches.
Using yarn needle, slide yarn needle under all stitches on needles, and draw tight to close up the end. Knot
Make sure the nest can stand up in a bowl shape on its own!
Here is the one I was able to make in a few hours one night.
CROCHETED Artificial Bird Nest
Several yards of Worsted weight yarn. Hold 2 or 3 strands together for a TIGHT stitch!
Size H hook
Starting ring: Crochet 3 chains using 2 or even 3 strands of yarn held together, and slip stitch last chain to first chain to make a loop or ring.
Round 1: Chain 2 (this counts as your first “stitch), work between 10 – 15 single crochets into th ring (depending on what thickness yarn you are using). Slip stitch the last single crochet to the top stitch in the chain 2 that started this round.
Round 2: Chain 2. Single crochet into each of the next two stitches, then do 2 single crochet’s into the next stitch, single crochet into the next two stitches, then 2 single crochet’s in the the next stitch. And on and on around the circle. Slip stitch your last single crochet into the top of the chain 2 that started this round.
Round 3, 4, 5, 6, and on: Repeat Round 2 over and over, until your circle is at least 3” big. You can make your nest with a bottom as small as 3” big, up to maybe 6” big.
Once you have made the bottom of the nest from 3” to 6” big, from all rounds thereafter, crochet ONE single crochet into each stitch. You will see your “sides” begin to form. Crochet until the sides are about 2 – 3” high. Bind off and weave in loose ends
Mail them to:
CWR
Po box 1484
Indian trail NC 28079
If you would like to read more about rescue nests, click here.
Happy Stitching!